In Google Tag Manager, go to Tags > New > Tag Configuration and choose Google Tag, paste your GA4 Measurement ID (it starts with G-), set the trigger to All Pages, then click Submit and Publish. If GTM is already on your site, the whole setup takes about 5 minutes.
By the end of this tutorial, you’ll have GA4 running through Google Tag Manager, which gives you a single place to manage all your tracking codes going forward.
If GTM is already installed on your site, this takes about 5 minutes. If it isn’t, install it first with our Google Tag Manager installation guide, then come back here.
Why install GA4 through Google Tag Manager?
Google Tag Manager (GTM) is a free tool that holds all your tracking codes in one container: one snippet on your site that loads everything else. Once GA4 runs through GTM, you manage it from the GTM dashboard instead of your website’s code.
That buys you three things:
- No code editing for future changes. Add event tracking, conversion tags, or other tools later without touching your site.
- One dashboard for everything. GA4, ads pixels, and any other tag live side by side where you can see them.
- Instant on and off. You can pause or unpause any tag in a couple of clicks.
Here’s how the two installation methods compare:
| Installation method | Best for | Flexibility |
|---|---|---|
| Direct code (plugin or pasted snippet) | Sites not using GTM, quick one-time setup | Low. Future changes mean editing site code again. |
| Through Google Tag Manager | Sites already using GTM, teams adding multiple tracking tools | High. All tracking is managed from the GTM dashboard. |
Don’t need GTM and want the shorter route? Follow the direct GA4 installation guide instead. And if you’re new to Tag Manager as a whole, the Google Tag Manager tutorial for beginners explains tags, triggers, and containers from scratch.
Before you start
You need two things in place:
- GTM installed on your site. The container snippet has to be live on every page. Here’s how to install Google Tag Manager if you haven’t done it.
- Your GA4 Measurement ID. This is the code that identifies your GA4 property, and it starts with
G-. Here’s where to find your GA4 Measurement ID (it takes about 30 seconds).
If GA4 code is already pasted into your site or added by a plugin, plan to remove it after the GTM version is live. Running both sends every visit to GA4 twice and inflates all your numbers. Step 5 below covers exactly how to do the swap safely.
Step 1: Create the Google Tag in GTM
A tag in GTM is a piece of tracking code that GTM fires for you. The tag that installs GA4 is called the Google Tag.
One naming note before you look for it. Google renamed this tag type in 2023: the current GTM interface calls it Google Tag, while older tutorials (and older containers) call it Google Analytics: GA4 Configuration. It’s the same tag doing the same job. If your container shows the old name, use that one. Google’s own walkthrough lives in the Tag Manager help center if you want the official reference.
Open your container
Go to tagmanager.google.com and click the container for your website. The container name usually matches your domain.
Create a new tag
In the left menu, click Tags, then click New. Name the tag something clear at the top, like “Google Tag - GA4” or “GA4 - Analytics”. Future you will thank present you.
Tags NewChoose the Google Tag type
Click the Tag Configuration box. A panel of tag types slides in. Select Google Tag (or Google Analytics: GA4 Configuration in older containers).
Enter your Measurement ID
In the Tag ID field, paste your GA4 Measurement ID. The format looks like this, and yours will be 10 letters and numbers after the G-:
G-XXXXXXXXXX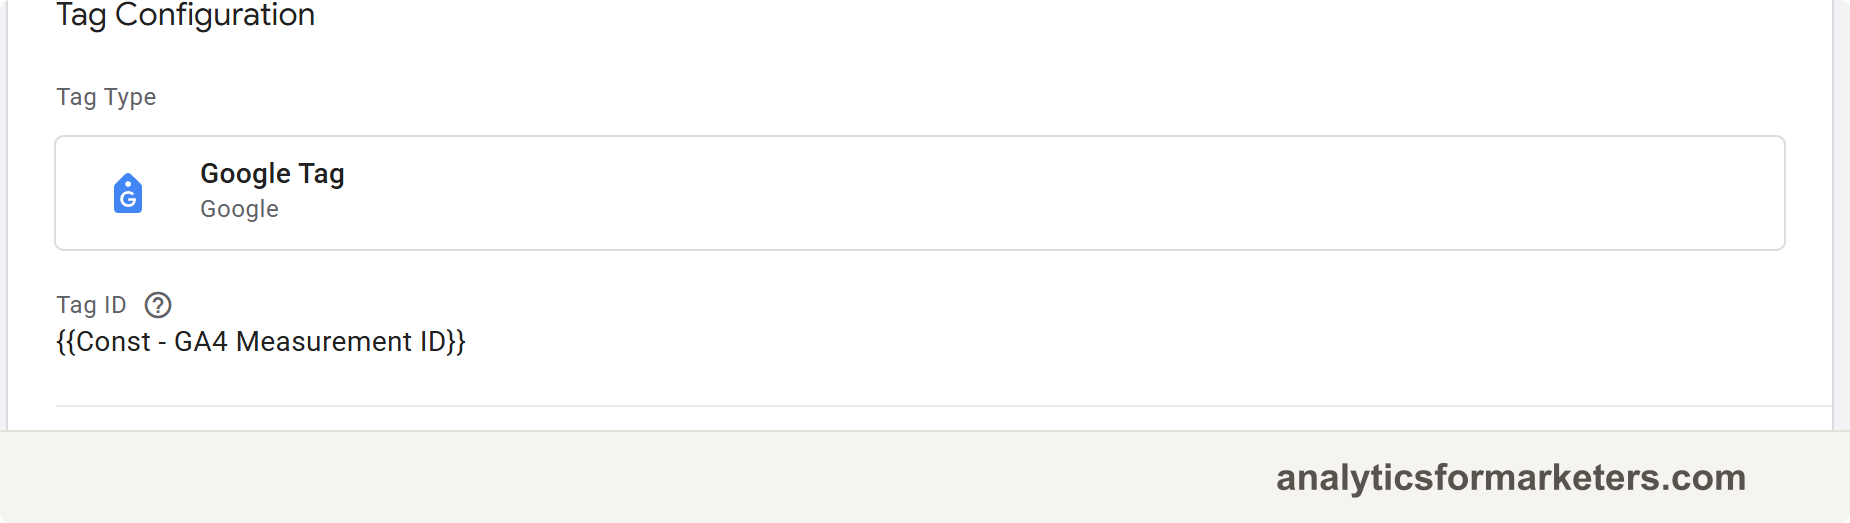
the Google Tag configuration with your G- Measurement ID filled in and no error messages under the field.
The ID must start with G-. If you’re pasting something that starts with UA- (old Universal Analytics) or GTM- (your Tag Manager container), it’s the wrong code. Grab the right one from your GA4 data stream.
Step 2: Set the trigger to All Pages
A trigger is the rule that tells GTM when to fire a tag. GA4 needs to load on every page so it can track your whole site, and GTM has a built-in trigger for exactly that.
Open the Triggering box
Still inside your new tag, click the Triggering box below Tag Configuration.
Select All Pages
Choose Initialization - All Pages if your container offers it, or All Pages otherwise. Both fire the tag on every page; the Initialization version fires slightly earlier, which is what Google recommends for the Google Tag. Then click Save in the top right.
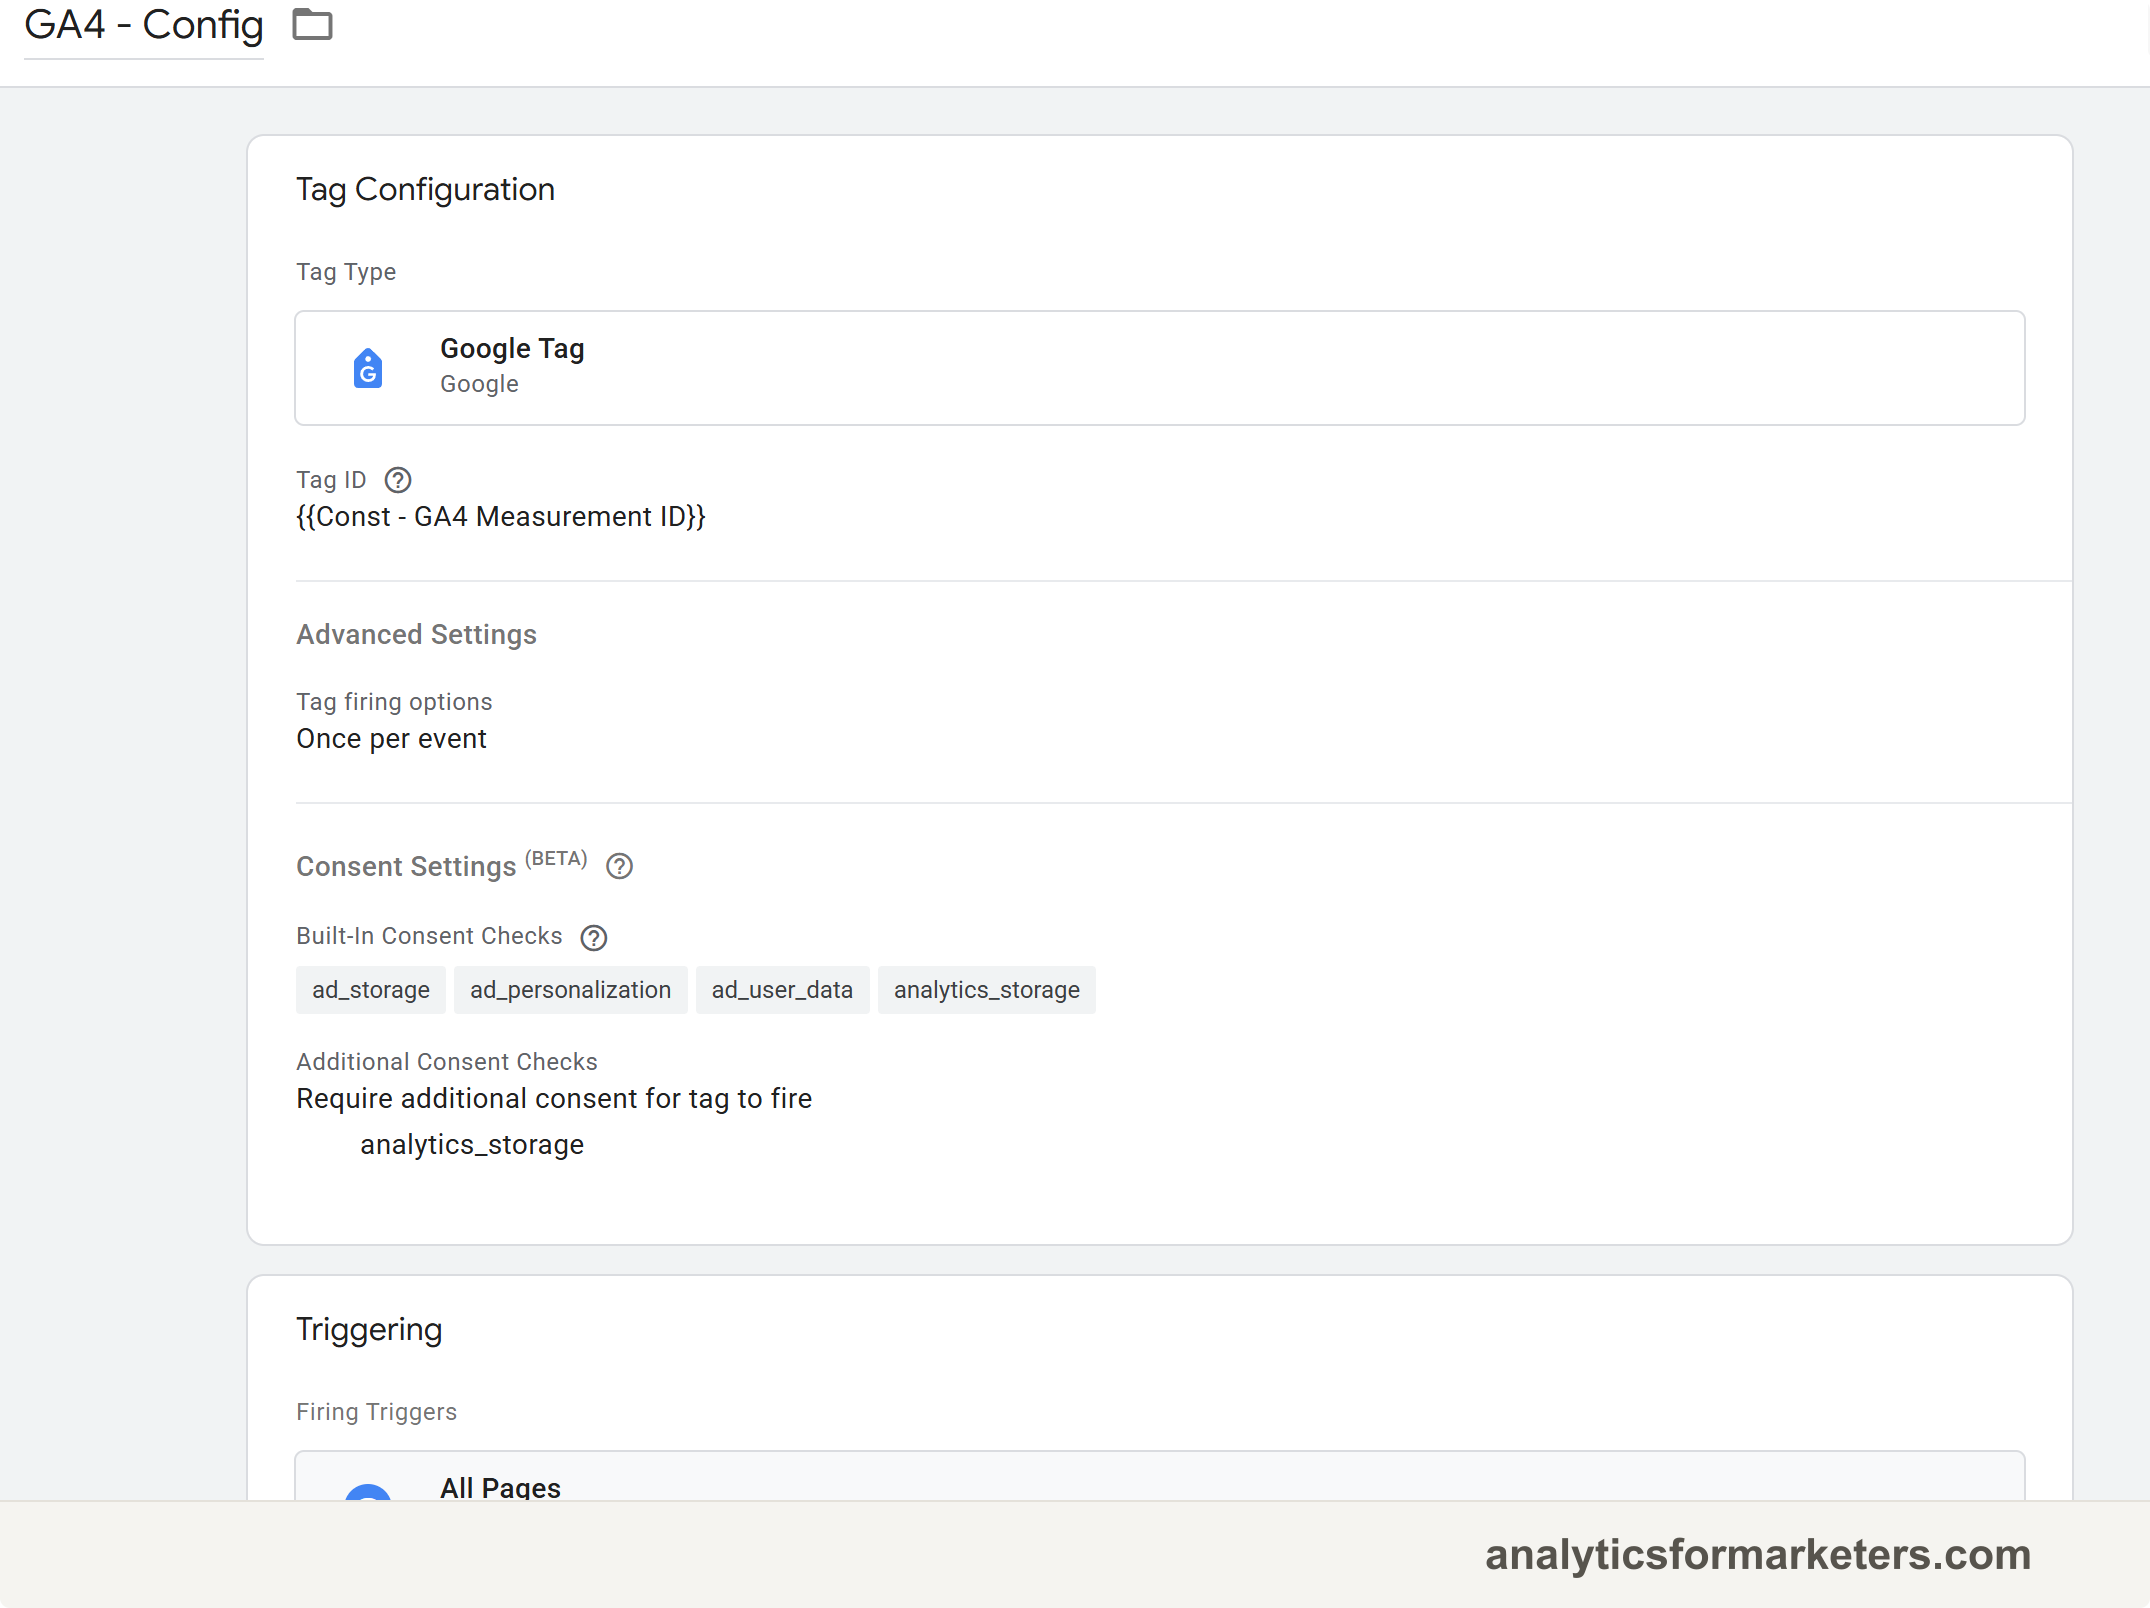
your tag summary showing the Measurement ID under Tag Configuration and the All Pages trigger attached under Triggering.
Step 3: Preview and test
The tag exists, but it isn’t live yet. GTM’s Preview mode lets you test it on your real site before anyone else is affected.
Start Preview mode
Click Preview in the top right of GTM. A tool called Tag Assistant opens. Here’s what that means: Tag Assistant is Google’s debugger that shows which tags fire on each page you visit.
Connect to your site
Enter your website URL and click Connect. Your site opens in a new tab with a “Tag Assistant Connected” badge in the corner, and the debug panel stays in the original tab.
Check Tags Fired
Switch back to the Tag Assistant tab. Under Tags Fired, look for the GA4 tag you named in Step 1.
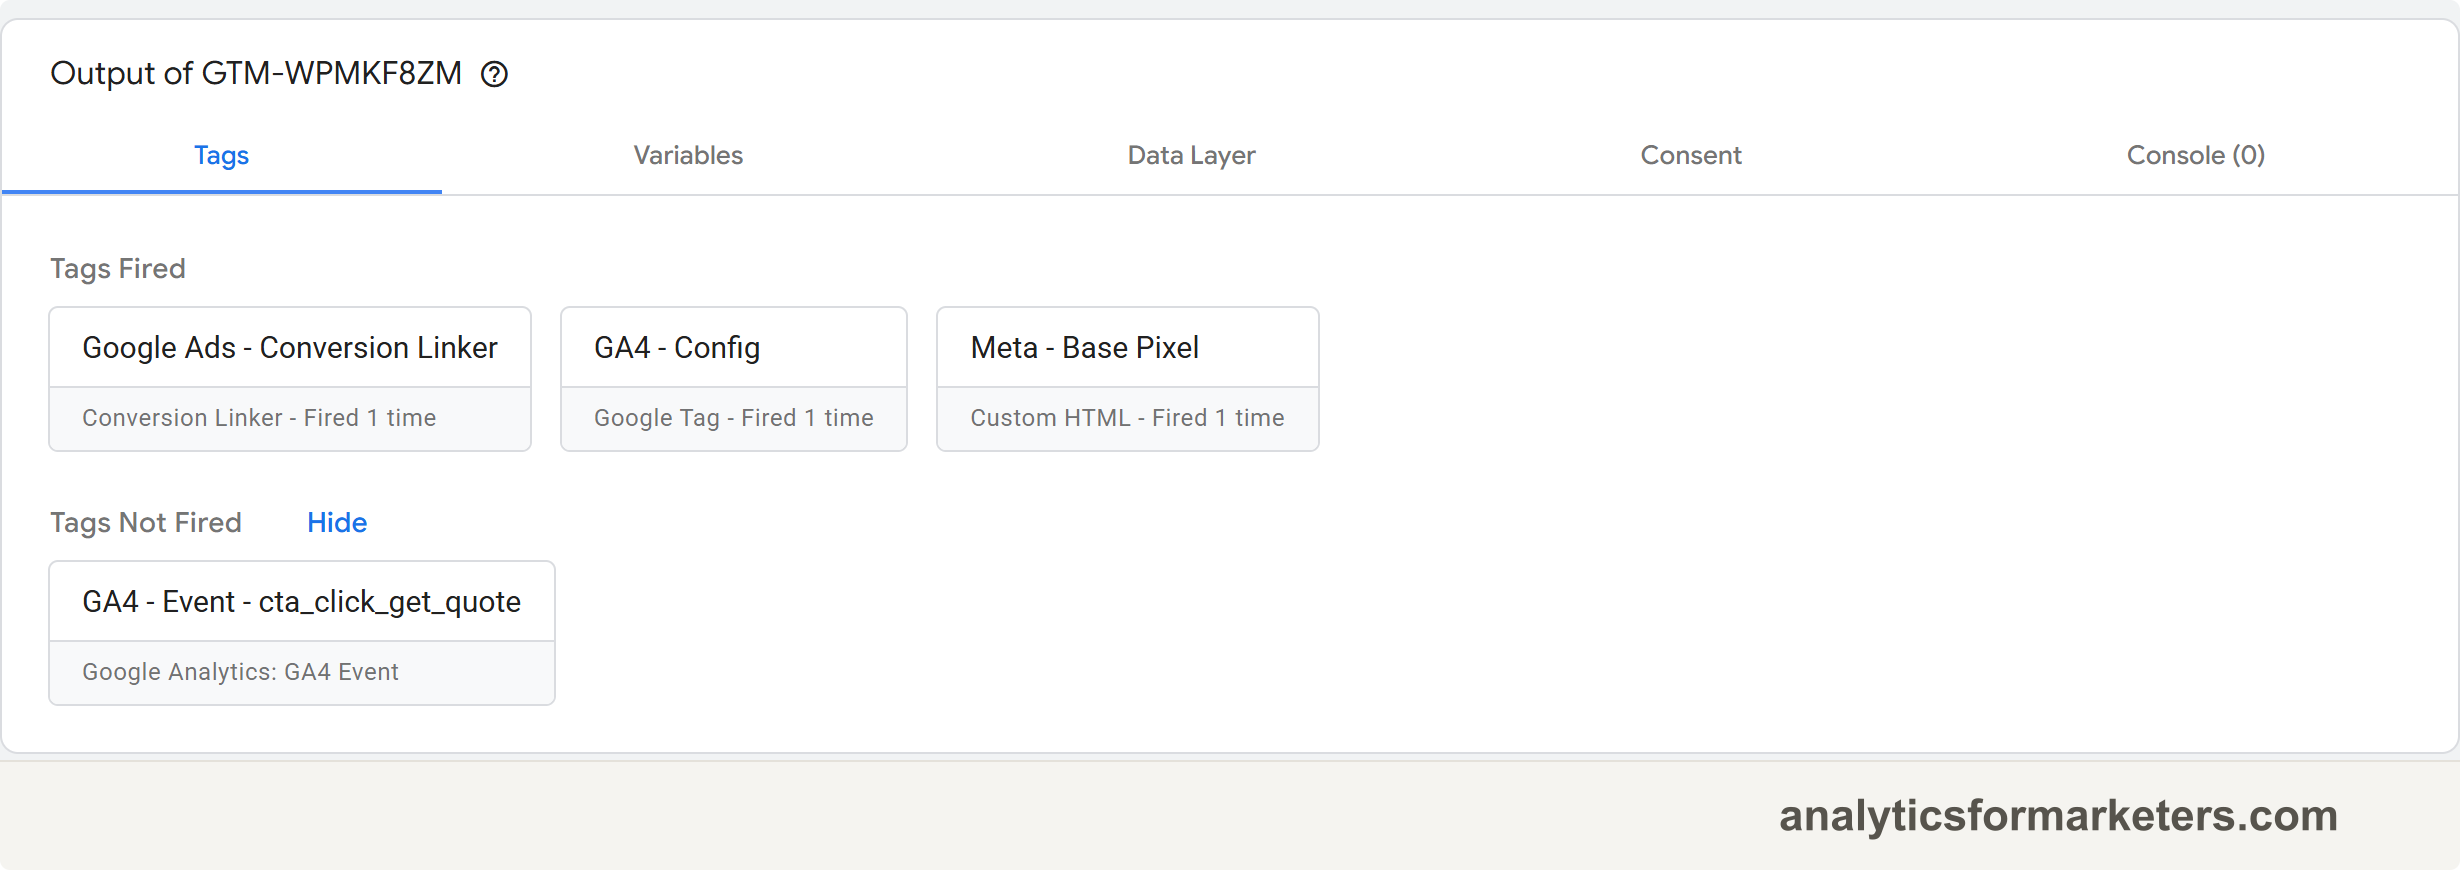
If your tag sits under Tags Not Fired instead, jump to the troubleshooting section below.
Confirm data in GA4
Open GA4 and go to Reports > Realtime. Keep your site open in the other tab and click around a few pages.
GA4 Reports Realtime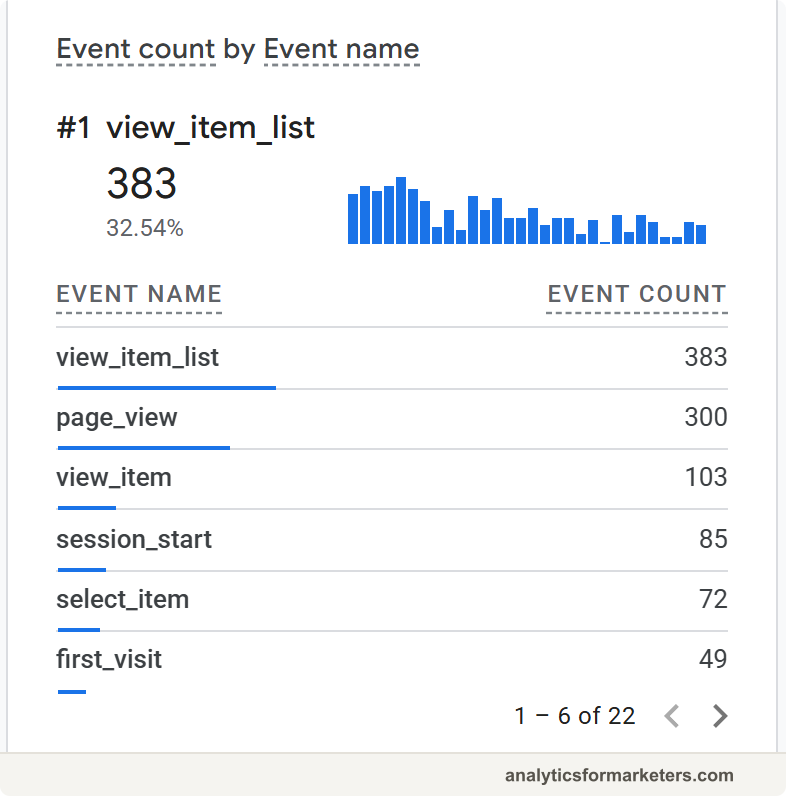
your GA4 tag under “Tags Fired” in Tag Assistant, and at least one active user (you) with page_view events in the GA4 Realtime report. Realtime updates within about 30 seconds.
Step 4: Publish your changes
This is the part where most tutorials lose you, and it’s also the step people skip. Preview mode only works in your own browser. Until you publish, no real visitor is being tracked.
Submit the container
Click Submit in the top right of GTM.
Name the version and publish
Give the version a name that describes the change, like “Added GA4 tracking”. A version is a saved snapshot of your container, so a clear name makes it painless to roll back later. Then click Publish.
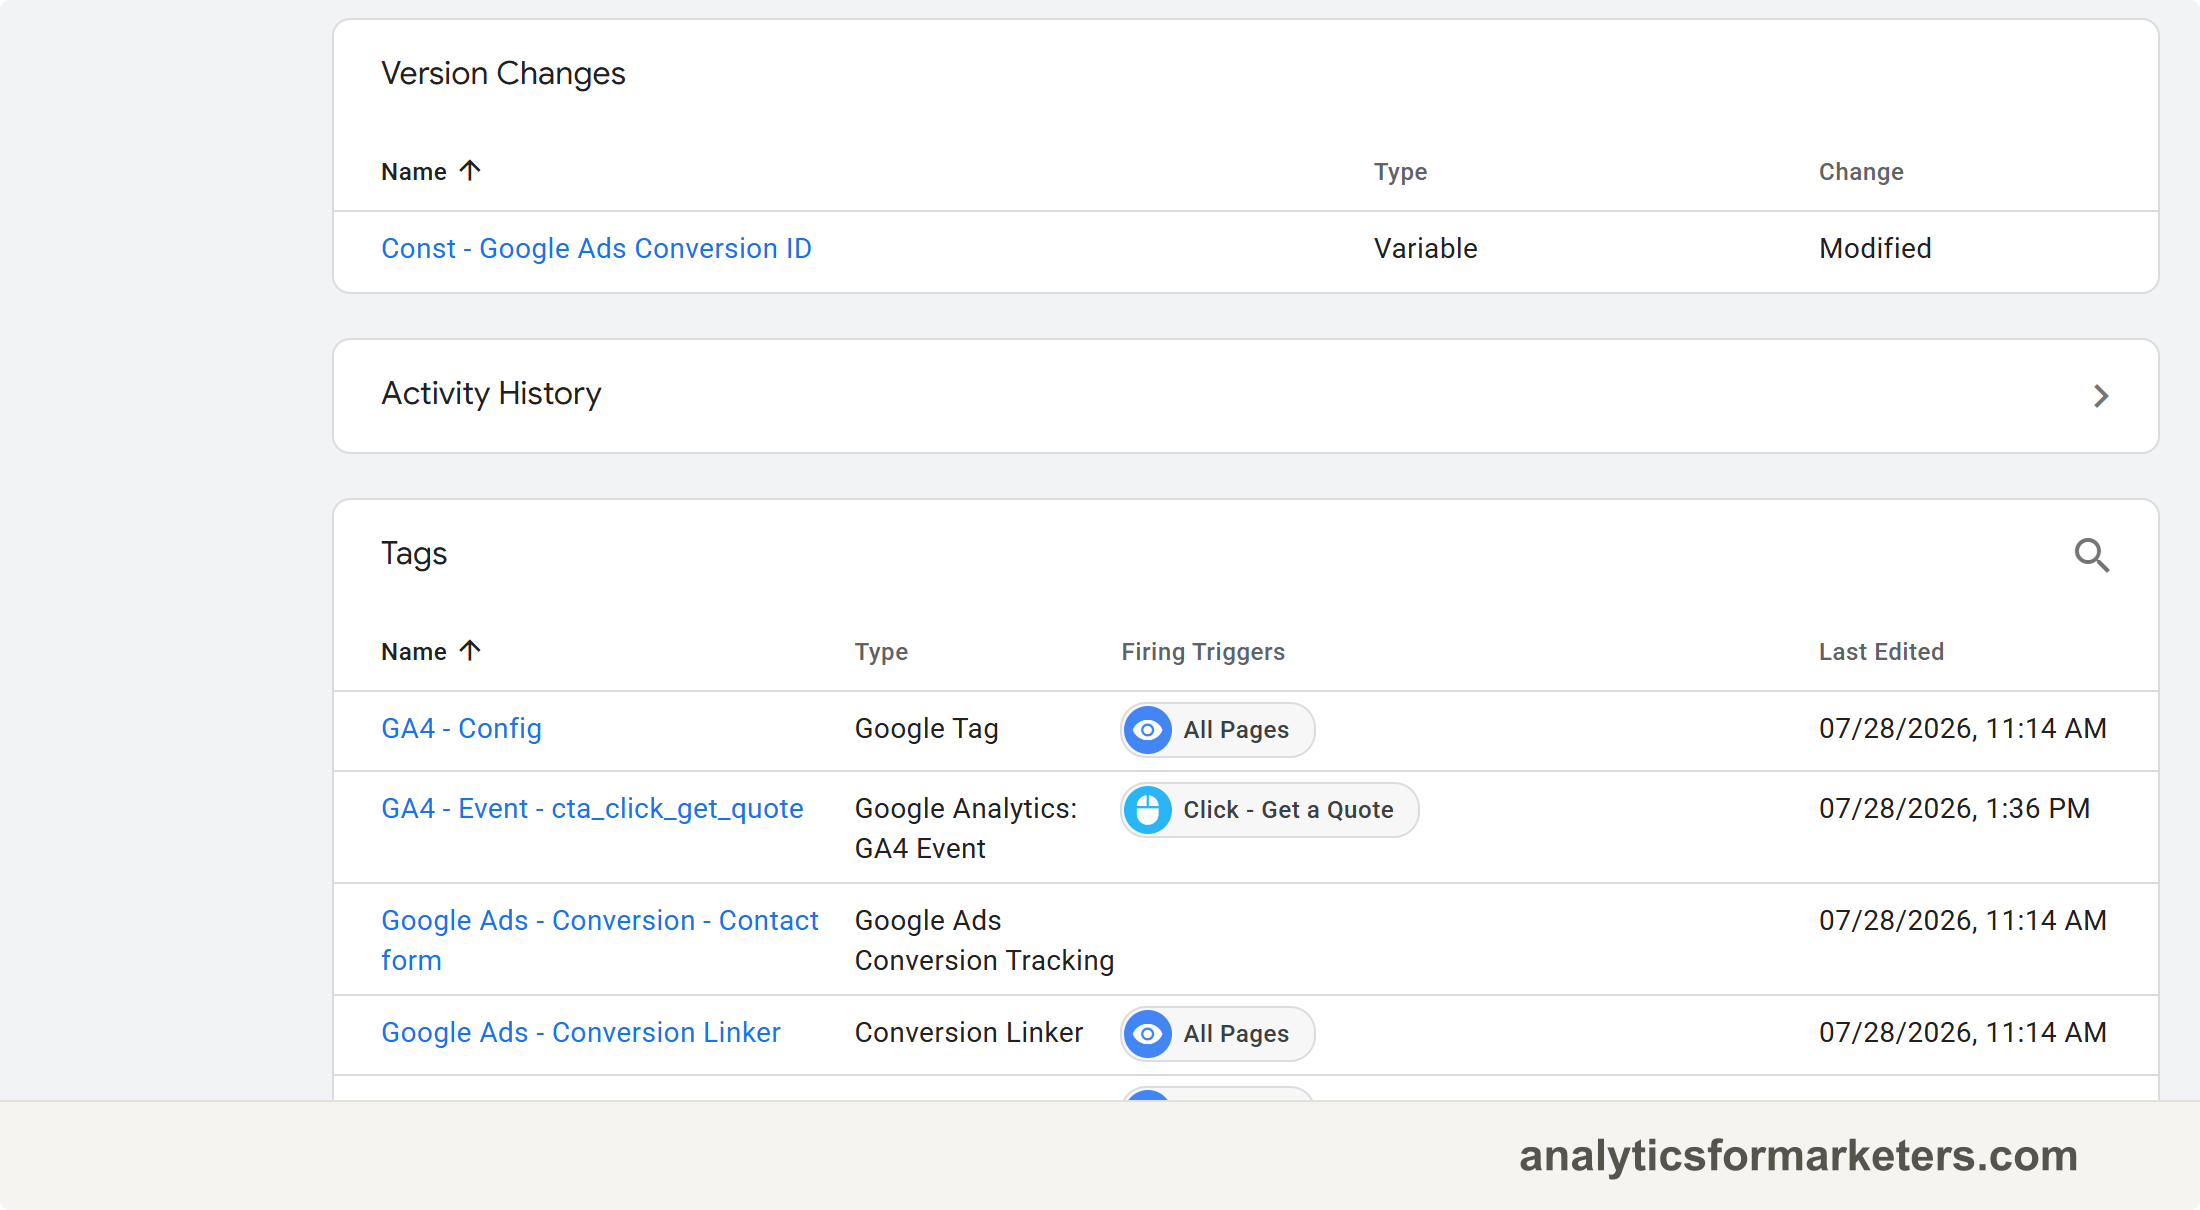
a new version at the top of your container’s version history, with your version name and today’s date. GA4 is now live for every visitor.
Step 5: Remove the old GA4 code (if you had it)
Skip this section if GTM is your first GA4 installation. But if you previously added GA4 by pasting code into your site or through a plugin, remove that now.
Why it matters: with both installations live, every visit and every event gets sent to GA4 twice. Your traffic looks doubled, and metrics like engagement rate stop meaning anything.
Where to look for the old code:
- WordPress: plugin settings (Site Kit, MonsterInsights, a header/footer scripts plugin) or your theme’s header code.
- Shopify: the Google & YouTube app settings, or Online Store > Preferences on older setups.
- Custom sites: the
gtag.jscode (the standalone Google Analytics snippet) in your site’s<head>, the block containing yourG-ID.
Remove the snippet or turn off the plugin’s GA4 output, then re-check Reports > Realtime in GA4 while browsing your site.
data still flowing in the Realtime report after the old code is gone. That traffic is now coming from your GTM tag alone, which is exactly what you want.
Troubleshooting common problems
Your numbers doubled overnight. This is the classic sign of double-counting: GA4 installed both directly and through GTM. Go back to Step 5 and remove the direct installation.
You picked the Universal Analytics tag type. Older containers still list Google Analytics: Universal Analytics as a tag type. That’s the old product, and standard Universal Analytics stopped collecting data in July 2023. Make sure your tag type is Google Tag (or Google Analytics: GA4 Configuration), not the Universal Analytics option.
Everything worked in Preview, but GA4 shows no traffic. You forgot to publish. Preview mode fools people because the tag genuinely fires, but only in your browser. Click Submit, then Publish, and re-test in a private window.
The Measurement ID is wrong. The value in the Tag ID field must start with G-. A UA- ID belongs to the retired Universal Analytics, and a GTM- ID is your container, not your analytics property. Here’s how to find the right G- ID.
The tag shows “Not Fired” in Preview. Open the tag and confirm the All Pages trigger is attached. No trigger means the tag never fires. Also check the tag isn’t paused: a paused tag shows a pause icon in the Tags list.
What to do next
GA4 is now running through GTM, and this setup is what makes the next steps possible without a developer:
- Track the actions that matter. Set up GA4 event tracking for button clicks, form submissions, and downloads, all through GTM tags.
- Flag your key events. Once events are flowing, mark the important ones as key events with the GA4 conversions guide.
- Get comfortable in GTM. The Google Tag Manager tutorial covers variables, more trigger types, and the workflow you’ll reuse for every future tag.
- Keep the container readable. Before you add a dozen more tags, set a GTM naming convention so anyone can open the container and know what fires where.
Give GA4 24 to 48 hours to populate its standard reports. Realtime works right away, but the main reports lag behind. That delay is normal, not a sign you did something wrong.